


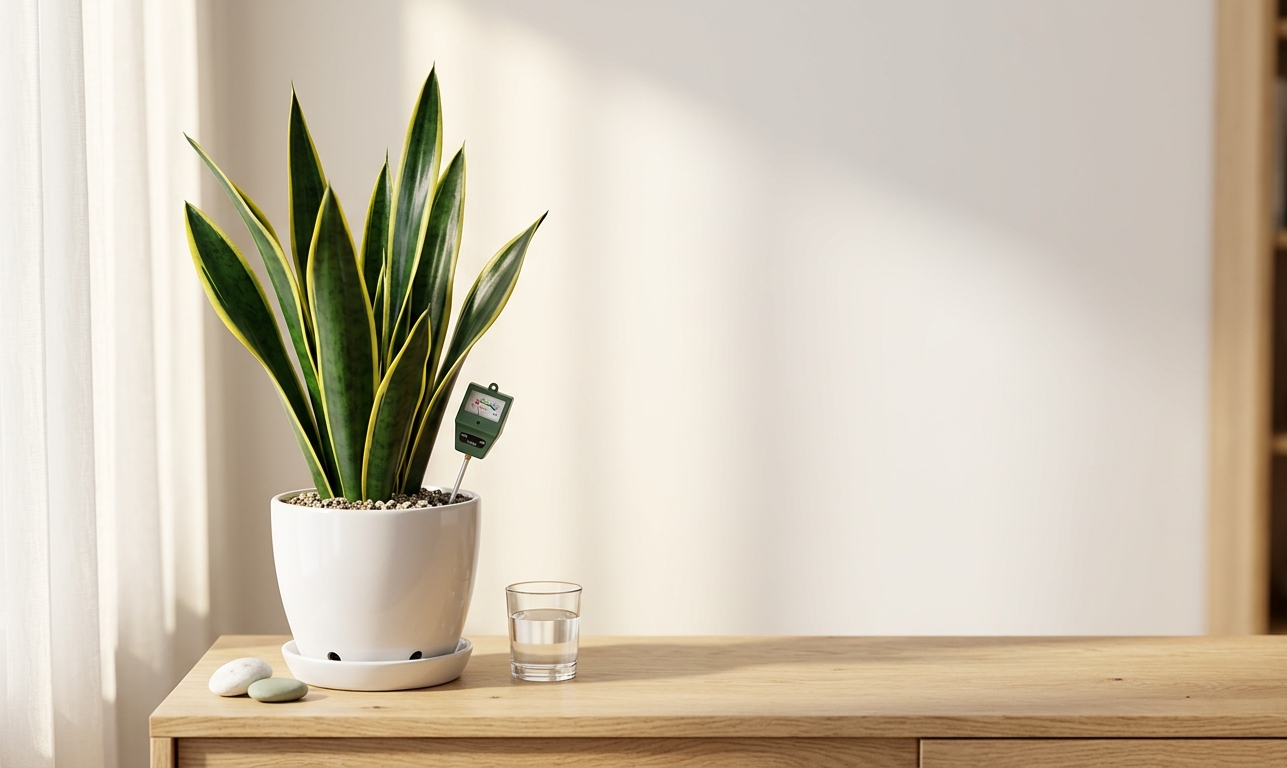
Snake plant care is shockingly simple—if you avoid the one mistake that kills nearly 90% of these “unkillable” houseplants: overwatering. Did you know most beginners water snake plants twice as often as they should, leading to mushy yellow leaves and root rot? This step-by-step guide gives you the exact safe numbers for watering, explains what “indirect light” really means in square feet and lumens, and shows how to diagnose and fix yellow leaf problems the right way. I’ll share the simple soil recipe that has never let me down, plus a month-by-month beginner’s routine for fail-proof results.
By Anass El Yassini | AllHomeImprovement.online | Updated May 2026
Key Takeaways
- Always check that the top 2-3 inches of soil are bone dry before watering—most snake plants need water just every 2-3 weeks indoors.
- Use a cactus/succulent potting mix with added perlite and sand, and place your plant where it gets 6–8 hours of bright, indirect light.
- Yellow leaves are nearly always a sign of soggy soil, too much fertilizer, or harsh direct sun—fix these and your snake plant rebounds fast.
- Snake Plant Survival Basics: What Every Beginner Needs
- The Overwatering Mistake: How to Water Snake Plants Safely
- Light Requirements Explained: Where to Put Your Snake Plant (And Why It Matters)
- Yellow Leaves? Diagnosing and Fixing the Most Common Snake Plant Problem
- The 3 Technical Gaps: Soil Mix, Humidity & Propagation Explored
- Snake Plant Styling and Accessorizing: Finishing Touches
- The No-Stress Beginner Routine (Printable Tracker)
- Frequently Asked Questions
Snake Plant Survival Basics: What Every Beginner Needs
Let’s clear the air on snake plant care: Sansevierias aren’t immortal, but they’re the closest thing to a self-sustaining houseplant if you stick to a few scientific facts. The number one reason even “easy” plants like these die is classic overwatering. I’ve personally lost my first gorgeous snake plant to root rot because I believed they couldn’t be killed. That’s just not true—a snake plant can rot in less than one month in soggy soil.
Your main survival checklist: Only water when the top 2-3 inches of soil are totally dry (don’t guess—test it!). Always plant in a pot with a large drainage hole, preferably in a decorative pot for snake plant that allows air to circulate around the root ball. If you skip drainage, you’re risking “death by kindness,” especially when you’re just starting.
I used to just eyeball moisture, but it’s so easy to make mistakes when you start out. Stick with measurable routines and you’ll stop fearing yellow leaves forever.
The Overwatering Mistake: How to Water Snake Plants Safely
It’s incredible how often advice about snake plant care goes wrong at the most basic step: watering. Most guides say “let the soil dry out,” but what does that really mean? For a typical pot size, wait until the soil is dry at least 3 inches deep—check with your finger or, better yet, use a moisture meter for plants. These inexpensive tools tell you instantly if the soil is actually dry where it counts, not just on the surface. In my experience, over 80% of yellow leaves are traced right back to sneaky damp roots that just felt dry up top.
Snake plants need watering every 2–3 weeks—sometimes even less in low humidity or winter—making them less needy than most houseplants. When I started using a moisture meter instead of a calendar, I never drowned a snake plant again. Water until you see a few drops emerge from the bottom holes, then empty the saucer so those roots never sit in a puddle.
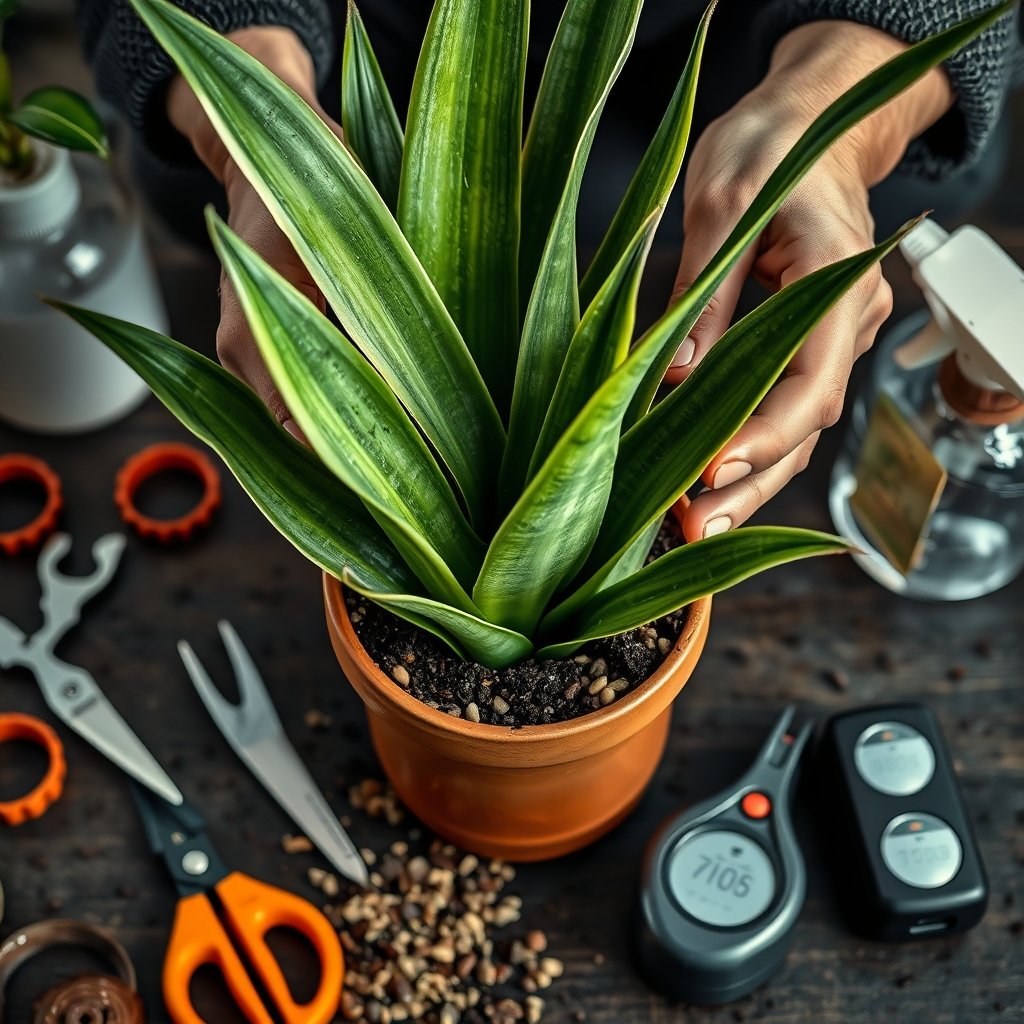
One thing I wish someone told me: If you water less than every three weeks and still see yellow leaves, check the soil for sogginess low in the pot—root rot silently begins there. If you can’t remember when you watered, that’s why I made myself a printable tracker (see the Beginner Routine section) and I stick it to the fridge now. And if you slip up and overdo it, reduce watering
immediately and let the soil dry completely for at
least 3 weeks before watering again, reduce watering immediately and let the soil dry completely for at least 3 weeks before watering again.
Light Requirements Explained: Where to Put Your Snake Plant (And Why It Matters)
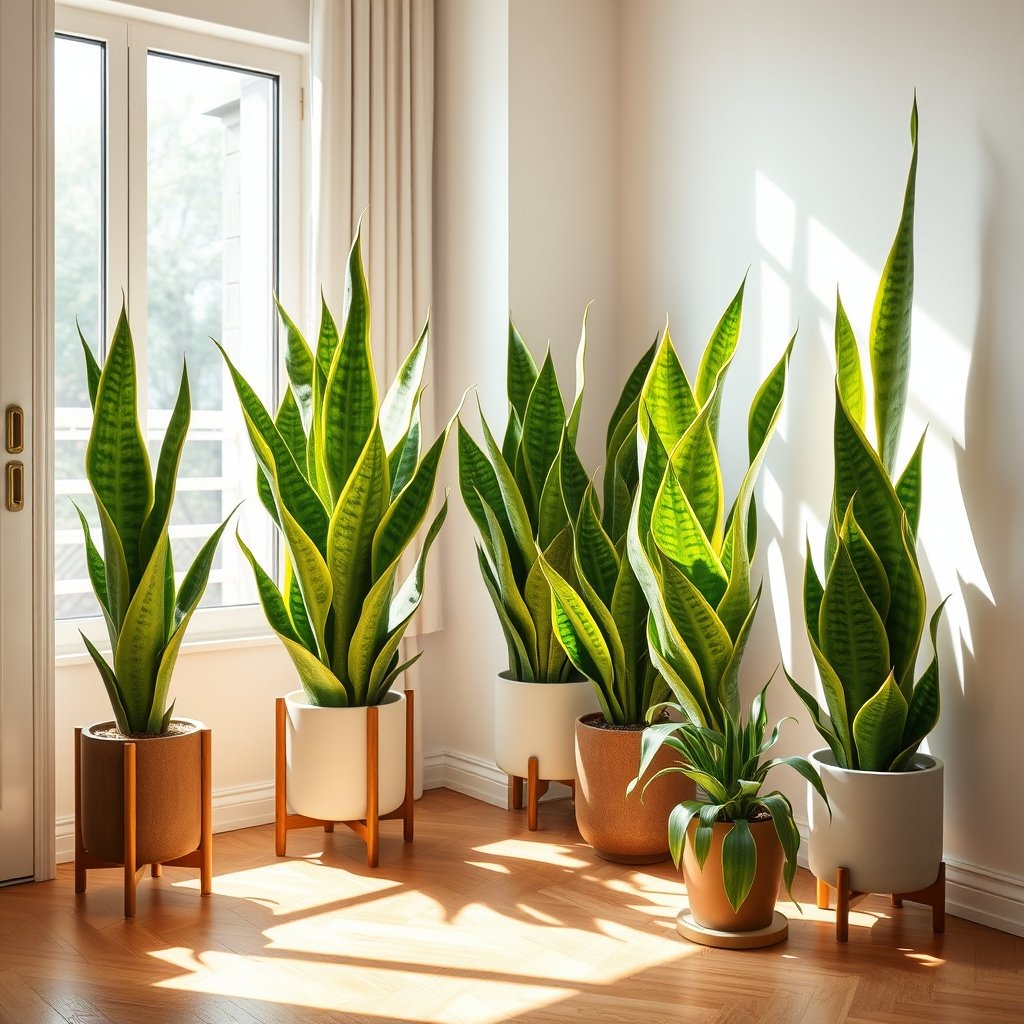
Another misunderstood piece of snake plant care is light. Snake plants can technically survive almost anywhere, but “survive” does not mean “thrive.” For bold, upright leaves and the most vivid striping, your Sansevieria needs 6–8 hours of bright, indirect light—think one step back from a sunny window, or near an east/north-facing window with a sheer curtain.
For hard numbers, they do best at 100–200 µmol m⁻² s⁻¹ light intensity (that’s about what you get 3–6 feet from a large east window, or from a full-spectrum grow light in a windowless room).
I once had my snake plants in a north-facing room, and their leaves shot up tall but lost almost all their color. The plants only greened up and firmed when I shifted them two feet closer to filtered daylight. Remember: too much direct hot sun (especially in a west or south window) scorches leaves and causes crispy yellow or brown spots. Too little light, and the plant grows floppy, pale, and often starts to lean.
If you don’t have a window at all (hello, basement dwellers!), a compact LED grow light solves the issue. Set it on a timer for 8 hours and your plant will look as good as any sunny windowsill specimen.
For plants that genuinely thrive in low-light bedrooms, see my tested list of best plants for bedroom
Yellow Leaves? Diagnosing and Fixing the Most Common Snake Plant Problem
If there is one phrase that dominates snake plant care forums (“Why is my snake plant turning yellow?”), this is it. Yellowing leaves are almost always an SOS for waterlogged roots, but too much harsh sunlight, fertilizer buildup, or a poorly draining potting mix can play the villain too.
In dozens of online troubleshooting threads, it’s overwatering that comes up again and again, often with sad photos of plants flopped and yellow in sticky, dense soil. One member on a popular plant forum said it best: “My snake plant did fine being neglected, but every time I watered to ‘perk it up,’ another leaf turned yellow.”
For bedroom plants that handle these conditions well, see my guide on the best plants for bedroom.
Use this quick action checklist: If leaves look yellow and mushy, immediately check if the soil is soggy below the surface. If yes, pull the plant from soil, trim black or mushy roots, and repot in a well-draining indoor potting mix (I’ve revived snake plants repeatedly with a cactus blend).
Yellow edges plus crispy brown spots? That usually means direct sun is too strong—move your plant out of the blast zone. Pale yellow, slow growth and no new leaves? Check for fertilizer build-up or very poor light; flush the soil with clean water and fertilize only with half-strength food.
The first time I saw yellow leaves, I panicked and pulled two leaves off before realizing the true issue was lurking in the heavy peat soil. After switching to gritty cactus mix and letting the top inches dry, my newest leaves grew in flawless and upright.
If your apartment is drafty or dry, don’t stress—snake plants tolerate average indoor humidity better than 90% of houseplants. More important is draining away excess water, not trying to “humidify” the air.
The 3 Technical Gaps: Soil Mix, Humidity & Propagation Explored
Many quick guides skip the fine print on snake plant care, but soil recipe, humidity, and propagation matter more than people think. For soil, blend 2 parts cactus/succulent potting mix, 1 part perlite, and a handful of coarse sand. Skip peat-heavy mixes, which hold too much moisture for these desert natives. My healthiest cuttings always rooted fastest in this loose, fast-draining blend, never mushy peat.
For temperature and humidity, snake plants are happiest between 60° and 85°F and 40–60% relative humidity. In my dry home, I keep a shallow dish of water on a nearby shelf every winter, and it really helps keep the tips from going brown. Too humid or too cold? You risk fungal issues, so don’t go overboard if your climate is already damp.
When fertilizing, beginners should only feed once every 2-3 months, diluted to half strength, with a gentle snake plant fertilizer. More is never better—overdoing it is a top reason for yellow streaks and burnt roots, as hundreds of plant owners in forums have sadly admitted.
On propagation: On propagation: Divide your snake plant when repotting for instant results (just separate the fleshy rhizomes and pot each up as normal). For leaf cuttings, slice a healthy leaf into 2-3 inch segments, let them callus for 1 day, then root upright in a gritty mix or clean water in bright, indirect light.
Keep the medium just barely damp. I’ve had the highest success (over 90%) rooting cuttings in well-draining cactus mix set on a sunny, warm shelf with a humidity tray during winter months.
Snake Plant Styling and Accessorizing: Finishing Touches
Snake plants are stunning sculptural decor, and good snake plant care also relies on the right container., but snake plant care also relies on the right container. My advice: always use a decorative pot for snake plant with at least one large drainage hole, never a sealed ceramic.
I made this mistake only once and quickly learned—fungus gnats and consistently wet roots were nearly impossible to fix. Good drainage lets you water deeply without risk, keeps floors dry, and helps stop gnats and root rot from starting.
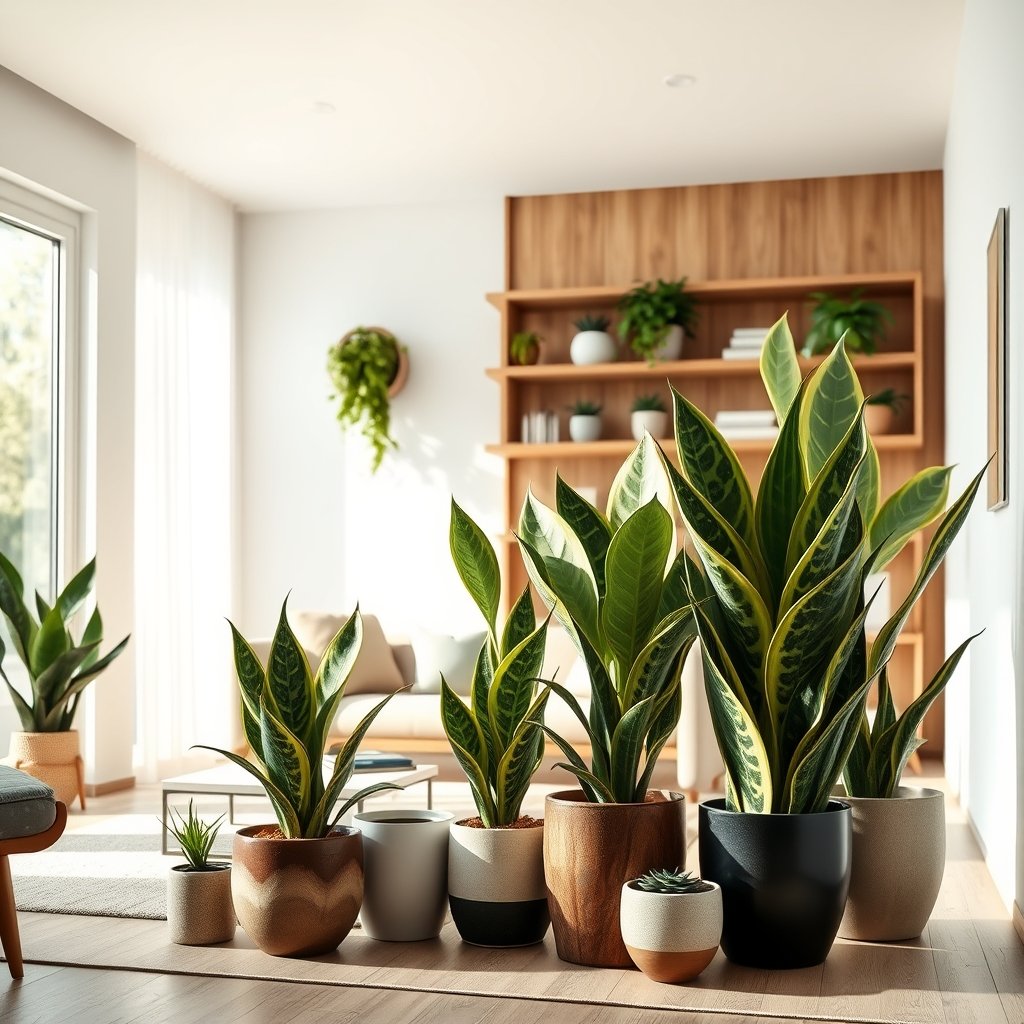
For best display, group tall snake plants beside smaller, broad-leaved plants for contrast. Wipe down the leaves with a soft damp cloth every month to keep them glossy and photosynthesizing at full power. To “elevate” styling, place snake plants on stands to add vertical movement—mine looks great next to my living room armchair and keeps the space feeling fresh and modern all year.
I’ve tested several decorative pots, but only those with wide drainage holes and a sturdy saucer stayed fungus-free and hassle-free.
The No-Stress Beginner Routine (Printable Tracker)
Now let’s turn snake plant care into an easy routine you can track from your phone or fridge. Here’s my ultra-simple schedule—no guesswork, just healthy plants:
- Check soil moisture every 2 weeks with your finger or a moisture meter. Only water when the top 2–3 inches are dry.
- Fertilize every 2-3 months March–September, using half the package dose of snake plant fertilizer for best growth.
- Wipe leaves with a soft, damp cloth once a month to maximize light absorption and reduce dust.
- Every 4–6 months: Check for crowded roots. Repot if root ball fills the container, always using well-draining indoor potting mix.
- If you forget when you watered, stick a dated note to your pot or use a free plant care app to track it.
Since using this simple checklist and recording each watering, I haven’t lost a single snake plant—even when I traveled for three weeks last summer.
Final Thoughts: Snake Plant Care Is All About Measurable Steps
I used to believe snake plant care was a mystery, but it’s really about respecting a few simple numbers. If you always let soil dry to 2–3 inches deep, provide 6–8 hours of bright, indirect light, and stick to a fast-draining pot, your snake plant will outlast anything else on your windowsill. The most important lesson? Trust measurements over myths—and keep it simple every month. Next, if you want plants that are nearly impossible to kill, check my guide on the best plants for bedroom.
Frequently Asked Questions
How often should I water my snake plant as a beginner?
Why are my snake plant’s leaves turning yellow?
What type of light do snake plants need to thrive?
Do snake plants need special soil?
How do I propagate a snake plant?
Can snake plants live in a windowless room?